Modern UI designs have divider lines in almost everything. Web designers use a border or <hr/> tag to add divider line on web pages. When you add border elements to the list, you need to keep track of the last item because you don’t want to have a border on the previous element. In TailwindCSS, you can use a utility class on the parent container to add divider lines between a list of elements.
Adding Horizontal Divider Lines in TailwindCSS
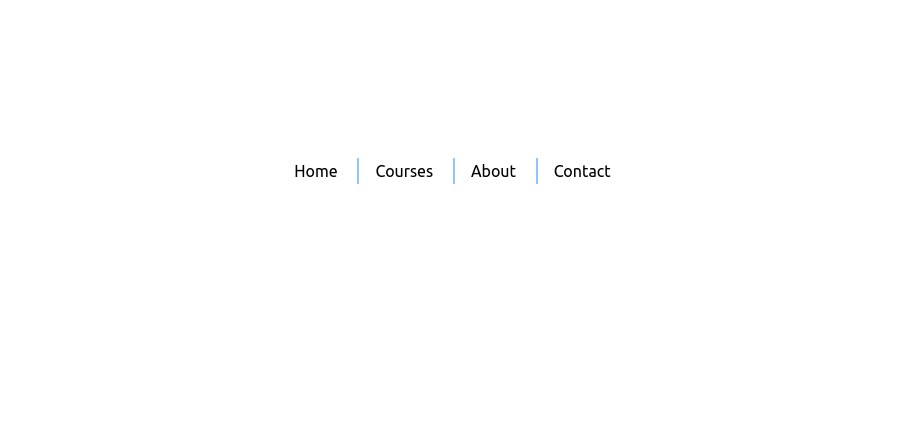
TailwindCSS provides divide class to add dividers between lists of elements or items. You can use the divide-x class to the parent container that is rendering child elements. If you are not happy with the color of the divider line, you can also change it with divide-{color} class. The following example adds horizontal divider lines between links that you can use in the nav bar.
|
1 2 3 4 5 6 7 8 9 10 |
<div class="divide-x-2 divide-blue-300"> <a href="#" class="px-4 py-1">Home</a> <a href="#" class="px-4 py-1">Courses</a> <a href="#" class="px-4 py-1">About</a> <a href="#" class="px-4 py-1">Contact</a> </div> |
Here is the working code example that you can check on the tailwind playground. The output will look like the following screenshot.
Vertical Divider Lines in Lists with TailwindCSS
You often need to add divider lines between elements in a vertical list. The most common use case is when you have a sidebar and you want to add border-bottom to every element except the last one. You can do this by using divide-y class in TailwindCSS. Here is a simple example.
|
1 2 3 4 5 6 7 8 9 10 |
<div class="flex flex-col divide-y-2 divide-blue-300"> <a href="#" class="px-4 py-1">Home</a> <a href="#" class="px-4 py-1">Courses</a> <a href="#" class="px-4 py-1">About</a> <a href="#" class="px-4 py-1">Contact</a> </div> |
Here is the working code example and the output is in the following screenshot.

Conclusion
Adding a border to every list item as a divider is not a good idea because you have to add classes to every child element. You can utilize the divider- classes provided by TailwindCSS which adds a border behind the scenes. If you use the divider- classes, you don’t need to keep track of the last element.