TailwindCSS provides almost everything you need to design an awesome website. If you see something that doesn’t exist, you can add it to the tailwind config file. But, if you still wish to add custom CSS or custom classes, you can add them to the tailwind input file.
Adding Custom Styles in TailwindCSS
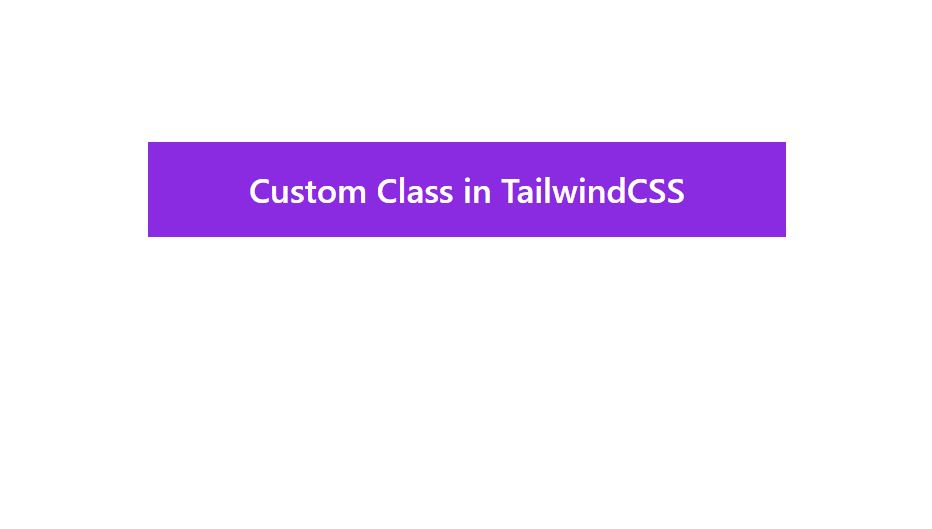
The simplest solution is to add your own classes into the tailwind input file. The input file that contains 3 tailwind directives is used to generate the output CSS file. So, when you add your own classes to the input file, tailwind will use add those classes to the output file. The following example adds a custom class in the tailwind input file. You can check the working code example on the tailwind playground.
|
1 2 3 4 5 6 7 8 9 10 11 12 13 14 15 16 |
@tailwind base; @tailwind components; @tailwind utilities; .my-custom-class{ font-weight: 500; background-color: blueviolet; padding: 22px; font-size: 34px; text-align: center; color: white; } |
|
1 2 3 4 5 6 7 8 9 |
<h1 class="my-custom-class" > TailwindCSS Custom Class </h1> |
Here is the output of the above code.

Using @apply Directive in TailwindCSS
When you are working with custom classes in tailwind, you can benefit from the @apply directive. This @apply directive allows you to use the TailwindCSS classes in your custom classes. You can combine as many tailwind classes as you want to make your own custom class. See the example below to understand how the @apply directive works.
|
1 2 3 4 5 6 7 8 9 10 11 |
@tailwind base; @tailwind components; @tailwind utilities; .my-custom-class { @apply bg-gray-800 text-white py-3 px-4 text-4xl text-center } |
|
1 2 3 4 5 |
<h1 class="my-custom-class"> Custom Class with @apply in TailwindCSS </h1> |
Best Practices to Add Custom CSS in Tailwind
The above method works fine to add custom styles or classes but it is recommended to add your own styles into the relevant layer. If you are trying to add buttons you should add those into @components layer and if you are wishing to add your own utility classes, try adding them into @utilities layer. Here is an example to add a button class and a custom utility class into layers. In the example below, 2 new classes are created. You can check the working example on the tailwind playground.
|
1 2 3 4 5 6 7 8 9 10 11 12 13 14 15 16 17 18 19 20 21 22 23 24 25 |
@tailwind base; @tailwind components; @tailwind utilities; @layer components{ .my-button{ background-color: brown; color:white; padding: 12px 16px 12px 16px; border-radius: 10px; font-weight: 600; } } @layer utilities{ .flex-center{ display: flex; justify-content: center; align-items: center; } } |
And then in your HTML you can use these classes.
|
1 2 3 4 5 6 7 8 9 10 11 12 13 14 |
<div class="h-screen bg-gray-50 p-40"> <div class="flex-center "> <p class="bg-gray-300 px-4 py-3"> Here is an example of adding custom classes in TailwindCSS </p> </div> <div class="mt-4"> <button class="my-button">Custom Button </button> </div> </div> |
Adding Base Styles in TailwindCSS
If you are not happy with tailwind base styles and you want them to have a default style of your own, you can add your own styles in the tailwind base layer. For example, if you want all your h1 and h2 to have certain font sizes, you can add them to the base layer of TailwindCSS. Check this example that adds the different font sizes in the base layer of TailwindCSS.
|
1 2 3 4 5 6 7 8 9 10 11 12 13 14 15 16 17 18 19 |
@tailwind base; @tailwind components; @tailwind utilities; @layer base{ h1 { font-size:54px; font-weight: 700px; } h2 { font-size:44px; font-weight: 600px; } } |
|
1 2 3 4 5 6 |
<h1>Custom H1</h1> <h2>Custom H2</h2> |
You can read more about adding base styles in TailwindCSS for more information.
Conclusion
You can add your own styles in TailwindCSS in 2 different ways. The first method is to create your own classes and add your style or use @apply directive to use tailwind classes. The second method is to add custom styles into the relevant layer using TailwindCSS directives. The second method is recommended as it clearly adds styles into relevant layers. Please read the official documentation for more information about adding custom styles or classes.