There couple of steps you have to do if you want to add new custom fonts in TailwindCSS. Adding Google fonts in TailwindCSS is not that hard, but if you have a custom font file, there is some extra stuff you need to consider.
Step 1: Downloading Custom Fonts File
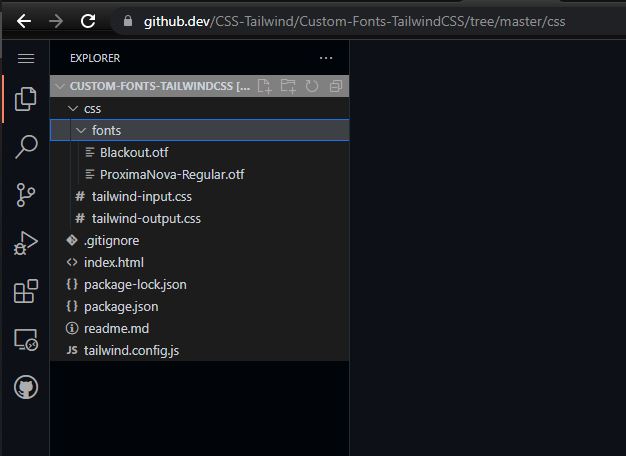
If you can’t find your desired fonts in google fonts library, luckily, there are many other websites that let you download free fonts. In this example, the fonts used are available for free on dafonts.
Step 2: Add Fonts in TailwindCSS Input File
As all the TailwindCSS classes are generated from what you place in the input file for TailwindCSS. So, you have to add the new fonts in the input file with @font-face the property.
|
1 2 3 4 5 6 7 8 9 10 11 12 |
@tailwind base; @tailwind components; @tailwind utilities; @font-face { font-family: Blackout; src: url("fonts/Blackout.otf") format("opentype"); } |
You need to also make sure that the output file where all the generated CSS will be placed, has the access to fonts you are using. In the example, the input and output file is in the same directory so both files have access to the fonts used.
NOTE: MAKE SURE YOUR TAILWINDCSS OUTPUT FILE CAN ACCESS THE FOLDER WHERE FONTS ARE LOCATED.
Check the example below to add new custom fonts from the file. If you have fonts with ttf format, you need to specify format('truetype');. You can read more about @font-face it on css-tricks.
|
1 2 3 4 5 6 7 8 9 10 11 12 |
@tailwind base; @tailwind components; @tailwind utilities; @font-face { font-family: Blackout; src: url("fonts/Blackout.otf") format("opentype"); } |
Step 3: Add your fonts in TailwindCSS config file tailwind.config.js
The next step is to add a name for your fonts in the tailwind config file. You can choose any name you want but make sure the value matches the font-family value you specified in the tailwind input file. The following code snippet extends the font family and adds new custom fonts.
|
1 2 3 4 5 6 7 8 9 10 11 12 13 14 15 16 |
/** @type {import('tailwindcss').Config} */ module.exports = { content: ["*.html"], theme: { extend: { fontFamily: { primary: "Blackout", }, }, }, plugins: [], }; |
Step 4: Use your custom fonts in HTML
You have successfully added newly downloaded custom fonts from a file in TailwindCSS. Now, all you need to do is use these new fonts in HTML. You can use the class name with the font name you specified in the tailwind config file. Check the following code to see how those fonts can be used.
|
1 2 3 4 5 6 7 8 9 10 11 |
<h1 class="mb-10 w-full px-10 text-center font-primary text-7xl text-gray-100 md:w-1/2 md:px-2" > These are custom fonts loaded from file. </h1> |
Working Code & Demo Link
Here is the Github Repository containing all the steps we did above. You can download the code and see how it works. If you want to check the working example, here is Demo Link for you to verify.
Conclusion
You can add your desired fonts in TailwindCSS. If the fonts you are willing to use are available on the google fonts library, you can add google fonts, but if you have a custom file for fonts, you can have to do a couple of more steps to use them in TailwindCSS.