TailwindCSS resets the default styles of every HTML element. If you are following a design system, you might have a default font size and font color for the website. TailwindCSS provides you with different ways to add your default font size and color to the web page.
Method 1: Adding Default Font Size and Color in TailwindCSS
This is the perfect and recommended method to add default font color and size to your tailwind project. For this method to work, you have to set the default font color and size in the base layer. If you use this method, no matter how many HTML files you have, all the web pages will have the default font size and color. Here is a working code example of adding default styles in the base layer.
|
1 2 3 4 5 6 7 8 9 10 11 12 13 |
@tailwind base; @tailwind components; @tailwind utilities; @layer base{ body{ @apply text-gray-500 text-xl } } |
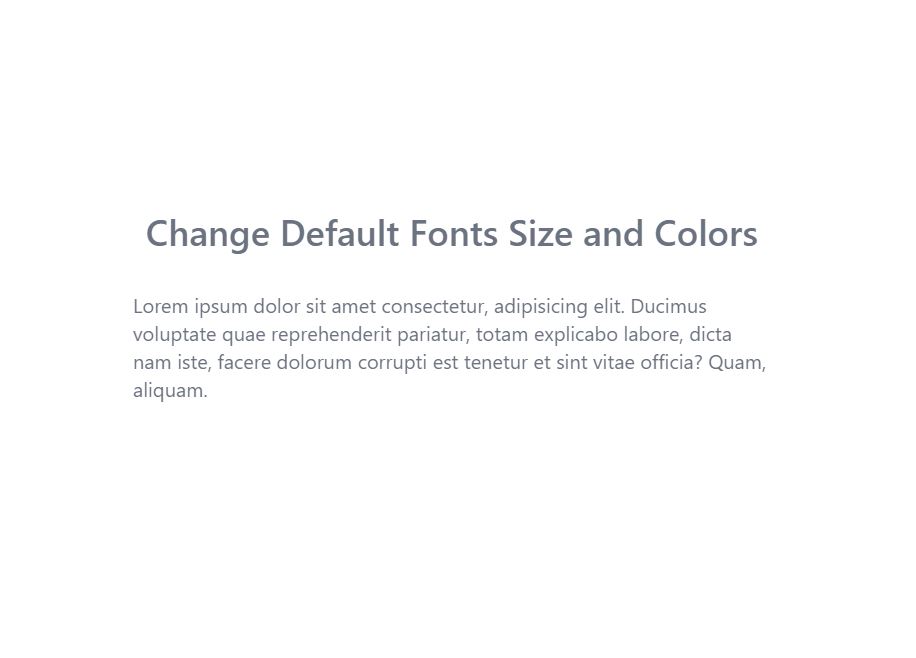
In the above example, you can use your own style without using @apply directive. Please check how to edit base styles in TailwindCSS for more information. The output of the above code will look like the following screenshot.
Method 2: Add Classes to Body Tags on Web Pages
The second method is to add font classes to the body tag of your web page in order to change the default size and color. This method is effective when you don’t want a default size and color for every page and you want every web page to have a different default font size and color. The following example adds default font sizes and colors to the body of the page.
|
1 2 3 4 5 6 7 8 9 10 11 |
<body class="h-screen text-lg text-gray-500"> <h1 class="text-4xl font-semibold">Change Default Fonts Size and Colors</h1> <p> Lorem ipsum dolor sit amet consectetur, adipisicing elit. Ducimus voluptate quae reprehenderit pariatur, totam explicabo labore, dicta nam iste, facere dolorum corrupti est tenetur et sint vitae officia? Quam, aliquam. </p> </body> |
Conclusion
There are 2 ways to change the default font size and color in TailwindCSS. The first method is to add the font size and color to the base layer. The second method is to add classes to the body tag of every web page. If you are looking to add custom google fonts or custom fonts from a local file, you can check our blog posts on both these topics.